The knife taken out of the vinegar and washed off. The vinegar ate the scale off without really affecting the metal. The scale is harder than steel, so it would have worn my file out quickly and made it hard to do the work.

Clamped in the vise, filing the cutting edge. I forge as close as possible to my final shape, minimizing the amount of steel needed to be removed. I could grind what's needed, but I think the file marks go better aesthetically with the more primal look. Like the smoothness of your hammer marks shows your skill at the anvil, the evenness of your file marks shows your skill with a file. I'll be playing with grinding more in the future, and of course I do make satin finished blades now that use a lot of grinding to do, but when doing a forge finished blade, I tend to file my edges for now.

After bringing the edge down to the point where the next step in working the edge is a coarse whetrock, I file the choil. Some folks like choils, some don't. There are functional reasons for both schools of thought and aesthetic reasons as well. Mostly, I like the look of a good choil. It's a nice way to start the edge and not make a blade look like a stock removal project with a ricasso and plunge cut. If I'm making a forged blade, I don't see a reason to make it appear like it was gound from a bar. Well and good to those who do, or to those who are stock removal makers. It's just not the way I go. That's a half-round file I'm using to do this.

Then I clean up the shoulders at the tang/blade transition. Slightly rounded to keep stress risers down. On my small knives, the transition from the tang to the blade is the thickest part of the steel. It tapers distally from there to the point and to the end of the tang. This helps eliminate weakness at this vulnerable area. It also helps keep the balance even between the blade and the handle. Since the tang will be hidden in the wood, I do some grinding here to speed up the work. The grinding marks won't show, and actually provide more surface area later on for the epoxy to grip. Here it is ready to heat treat.

Some steels benefit from multipe heat treatment cycles, others don't. 5160, which is what the spring steel probably is, does benefit. I hardened this one three times by heating it in the tomato can gas forge and quenching in vegetable oil. Veggie oil works about the same as commercial quench oil and is non-toxic. Check for warps and for hardening with a file, then do the next cycle. Each time I quench is at a slightly lower temperature. I differentially harden small blades with an edge quench, giving a hard edge and springy spine. Also, I harden the tip a little softer than the rest of the edge and a little harder than the spine. The tip can undergo a lot of stress, and making it a bit softer will make it a lot tougher and less likely to break when stressed. A few minutes on a whetrock and you'l have it back, rather than having to get the blade re-profiled because the tip snapped off.


You can see the flames coming out of the forge from the oil burning off after the first quench.

After the third quench, I leave it in the oil a few minutes. Then I pull it, do a final check for warps, wipe it down, and sand off the worst of the baked-on oil. No shot of it post-sanding, but here it is post-wipe-down.


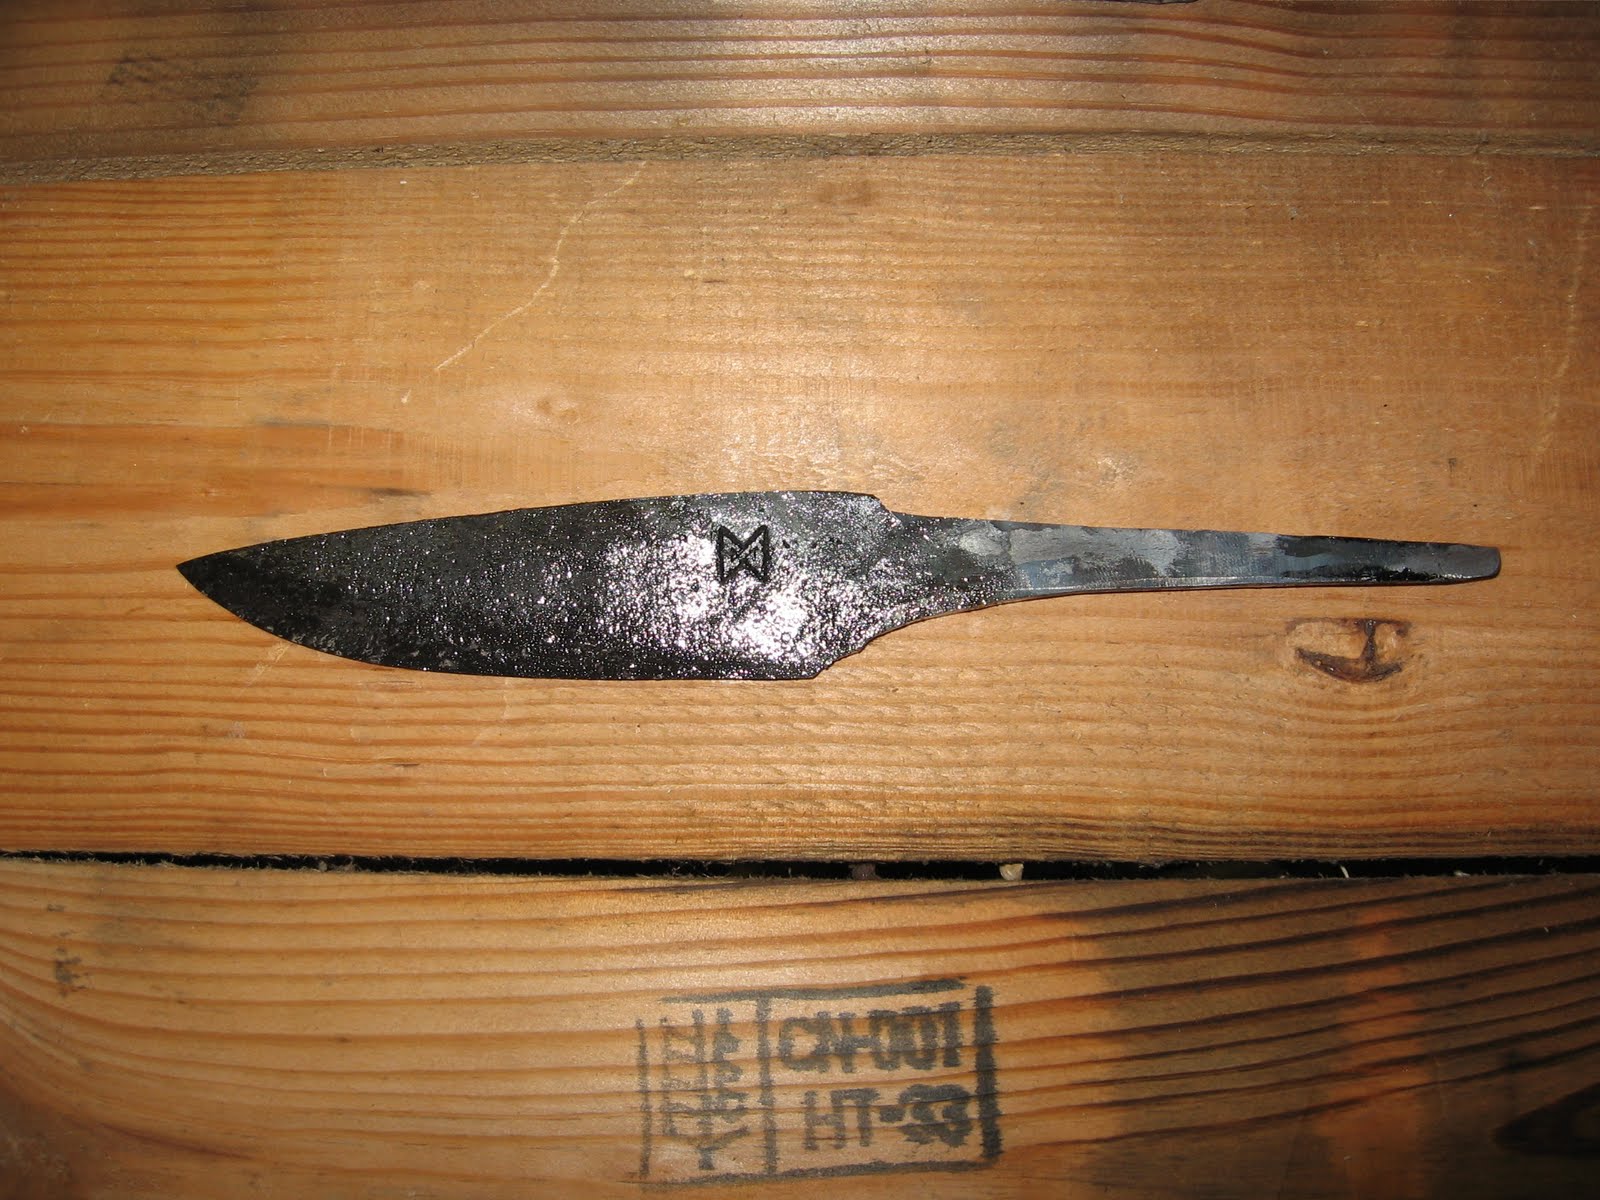
Finally, I draw temper in my high-dollar Wal*Mart toaster oven heat treatment furnace. It's now ready for me to do some more cleanup and start fitting the bolster.


No comments:
Post a Comment